
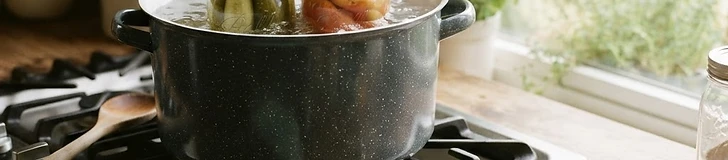
Preserving your garden harvest allows you to enjoy the taste of summer long after the first frost. This guide covers the basics of water-bath canning, a safe and reliable method for high-acid foods. By creating a vacuum seal in jars, you can store your bounty at room temperature for up to a year.
Essential Supplies Before starting, ensure you have the correct equipment to maintain safety. You will need:
- A deep stockpot equipped with a rack to keep jars off the bottom.
- Mason jars specifically designed for home canning.
- New lids and clean rings.
- A jar lifter to prevent burns.
- A bubble remover or plastic spatula.
Preparing High-Acid Foods The water-bath method relies on acidity to inhibit bacterial growth. This process is strictly for high-acid items with a pH of 4.6 or lower. Suitable candidates include:
- Fruits: Prunus persica (peaches) and Fragaria × ananassa (strawberries).
- Pickled Vegetables: Cucumbers, peppers, and green beans submerged in vinegar solutions.
- Tomatoes: Always add bottled lemon juice to plain tomatoes to ensure proper acidity levels.
Tip: Always inspect the rims of your jars for tiny nicks before filling; a perfectly clean, smooth rim is essential for achieving a reliable airtight seal.
The Canning Process Once your jars are filled and wiped clean, follow these steps:
- Place the filled jars onto the rack in the boiling water-bath canner.
- Ensure the water level is at least 1–2 inches above the tops of the jars.
- Cover the pot and bring the water back to a rolling boil.
- Start your timer only once the water has reached a full boil; standard processing times often range from 10 to 45 minutes depending on the recipe and jar size.
- Turn off the heat, remove the lid, and let the jars rest in the water for 5 minutes before moving them to a towel-lined counter to cool.