
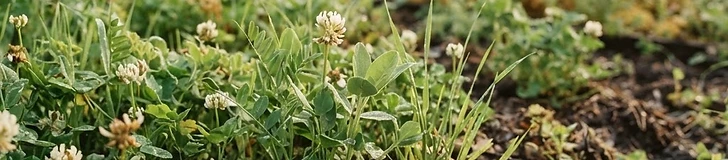
Turning your garden beds into thriving ecosystems starts with what you grow when you aren't harvesting vegetables. By using cover crops—often called green manures—you can prevent erosion, suppress weeds, and naturally build organic matter that feeds your future crops. This practice effectively turns your dormant soil into a biological factory while you wait for the next growing season.
Why Cover Crops Matter
Unlike traditional cash crops, cover crops are grown specifically to protect and improve the soil. They act as a living mulch that shields the ground from heavy rain, which can wash away precious topsoil and nutrients. As their roots grow deep, they break up compacted layers of dirt, improving drainage and aeration for your future vegetable roots. When you eventually chop them down, they decompose into rich, carbon-dense compost directly in place.
Choosing Your Species
Different plants serve different functions in the garden. For home growers, look for species that are easy to manage in small spaces:
- Winter Rye (Secale cereale): Excellent for cold climates (USDA zones 3–7) to prevent nitrogen leaching.
- Hairy Vetch (Vicia villosa): A nitrogen-fixer that adds fertility back into the soil for spring tomatoes.
- Crimson Clover (Trifolium incarnatum): Attracts pollinators while building biomass.
Pro Tip: Always terminate your cover crop at least two weeks before planting your vegetables to ensure the plant material begins breaking down and doesn't compete for moisture.
The Lifecycle of Green Manure
- Sowing: Broadcast seeds over bare soil 4–6 weeks before the first hard frost (below 32°F). Lightly rake them into the top 1 inch of soil.
- Growth: Let the plants establish a deep root system. Do not water excessively; most cover crops are hardy once established.
- Termination: Use a sharp pair of shears or a mower to cut the plants down at the soil line once they reach the flowering stage but before they set seed.
- Incorporation: Leave the clippings on the surface as a mulch or lightly incorporate them into the top 2 inches of soil with a broadfork or garden rake.
By keeping your soil covered, you maintain the vital microbial activity necessary for vibrant, high-yielding vegetable plants next season.