
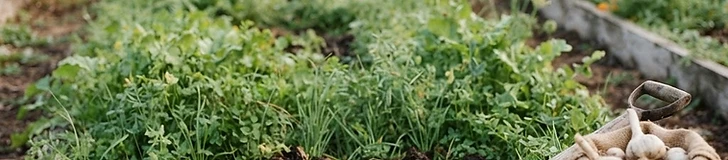
Garlic is a heavy feeder that requires nutrient-dense, well-draining soil to form large, flavorful bulbs. By preparing your beds weeks before planting, you set the stage for a resilient crop that can withstand winter freezes and emerge strong in the spring. This guide covers the essential steps to ready your soil using organic soil amendments and green manure.
The Role of Cover Crops Planting cover crops is the most effective way to improve soil structure and prevent erosion during the off-season. In USDA zones 5 through 8, sow crops like crimson clover or winter rye in late summer. These plants loosen compacted earth with their deep roots and capture nitrogen that would otherwise leach away during fall rains.
- Mow the cover crop down when it reaches about 6 to 8 inches in height.
- Use a broadfork or garden fork to gently aerate the soil without turning it over completely.
- Leave the chopped greens on the surface as a nutrient-rich mulch for at least two weeks before planting.
Enriching with Compost Quality compost acts as the primary fuel for garlic development. Since garlic prefers a slightly acidic to neutral pH (6.0–7.0), adding aged organic matter helps buffer the soil while improving moisture retention. If your soil is heavy clay, work in 2 to 3 inches of compost to improve drainage, as stagnant water is the enemy of overwintering bulbs.
Pro-tip: If you are short on time, skip deep digging and apply a 2-inch layer of high-quality compost directly over your bed; the worms and freeze-thaw cycles will naturally incorporate the nutrients into your soil.