
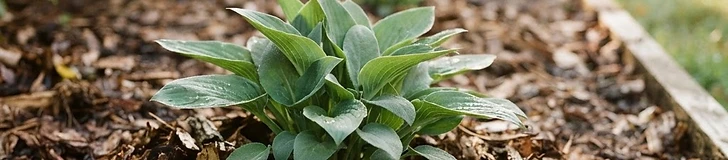
Applying mulch is like giving your garden a protective blanket that stays on year-round. This guide explores how to choose and apply materials to help your soil thrive in any USDA hardiness zone.
Why Mulch Matters
Soil health begins at the surface. By covering exposed dirt, you prevent erosion from heavy rain and stop the sun from baking the life out of your topsoil. Mulch acts as a thermal buffer, keeping roots cooler during scorching 90°F summer days and insulated against the freeze-thaw cycles of winter.
Choosing Your Material
Different materials serve different purposes depending on your plant types and climate:
- Shredded bark or wood chips: Perfect for perennials and shrubs; they break down slowly.
- Straw or pine needles: Excellent for vegetable beds as they are easy to move when planting seeds.
- Compost: Use this as a dual-purpose layer that feeds the soil while suppressing weeds.
Pro tip: Always leave a two-inch gap between your mulch and the base of plant stems to prevent rot and keep pests like voles away from the bark.
Seasonal Application Steps
- Spring Cleanup: Apply a fresh 2-inch layer once the soil has warmed to at least 50°F but before weed seeds germinate.
- Summer Maintenance: Check your depth. If it has thinned to less than 1 inch, add more to ensure consistent moisture retention during July and August heat.
- Winter Prep: In zones 5–7, wait until the ground has slightly frozen before adding a deeper 3-inch layer of straw to prevent plants from 'heaving' out of the soil during temperature fluctuations.
Avoiding Common Pitfalls
Avoid the 'mulch volcano' look where bark is piled high against tree trunks. This encourages fungal diseases and creates a habitat for rodents to chew on tree bark. Instead, spread your mulch in a flat, donut-like ring that extends to the drip line of the plant canopy. This ensures the roots receive the full benefit of regulated temperatures and consistent hydration without risking the health of the plant's main stem or trunk.