

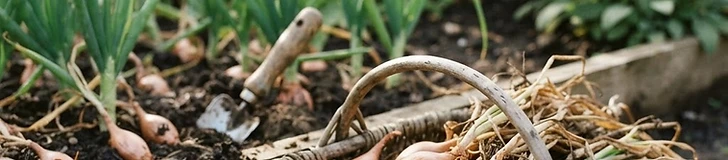
Shallots are the secret weapon of professional chefs, offering a sophisticated, mild flavor that bridges the gap between onion and garlic. In this guide, you will learn how to transition these gourmet alliums from soil to your kitchen pantry with ease.
Planting Your Shallots
Planting timing is the most critical factor for success. In USDA zones 6 and warmer, fall is the ideal time to tuck shallot sets into the ground, as they establish roots before winter dormancy. In colder regions (zones 5 and below), wait until the ground thaws in early spring. Choose a site with full sun and well-draining soil. Place the bulbs pointy-end up, about 6 inches apart, burying them just deep enough so the tip is slightly visible or covered by a half-inch of soil.
Growth and Maintenance
Maintenance for shallots is refreshingly simple. They are heavy drinkers initially but prefer drier soil as the bulbs begin to swell. Keep the bed free of weeds, as these plants do not compete well for nutrients. Water consistently during the spring growth phase, but taper off irrigation as the tops begin to yellow in late summer.
Tip: Apply a light layer of straw mulch around your shallots after planting; this suppresses weeds and regulates soil temperature during the transition between seasons.
Harvesting the Bounty
Harvesting occurs when the tops begin to yellow and flop over, usually by mid-summer. Unlike onions, shallots grow in clusters. Once the foliage has browned, use a garden fork to gently lift the entire cluster from the soil. Avoid pulling them by the stems, which can damage the bulbs and lead to rot.
Curing for Long-Term Storage
Curing is essential for shelf life. Lay your harvested clusters in a single layer in a shaded, well-ventilated spot for two to three weeks. Once the outer skins are papery and dry, trim off the dried stems and roots. Gently brush away the dirt, keeping the skins intact to protect the bulb.
- Store in a cool, dry place like a pantry or basement.
- Use mesh bags or wire racks to encourage airflow.
- Keep away from direct sunlight to prevent sprouting.
Growing your own shallots rewards you with a longer harvest window and a flavor depth that store-bought versions simply cannot match.