
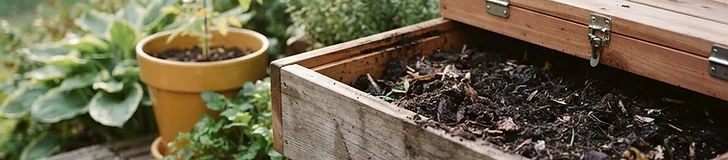
Transitioning your indoor worm bin to a larger, outdoor setup allows you to process significantly more food scraps while producing high-quality fertilizer for your entire yard. This shift requires careful planning to protect your worms from the elements, especially in varying US climate zones.
Choosing the Right Outdoor Bin
When moving outside, choose a sturdy container that offers both drainage and ventilation. Options include large plastic worm towers or DIY wooden bins at least 2 feet by 2 feet. If you live in USDA zones 6 or lower, ensure your bin is insulated or capable of being moved into a garage during deep freezes. Red wigglers (Eisenia fetida) thrive best when the bedding temperature stays between 55°F and 75°F.
Optimal Site Selection
Placement is critical for an outdoor system. Select a shaded location that avoids direct afternoon sun, which can overheat the bin quickly. Placing your bin near a water source makes regular maintenance easier, but ensure the spot has good drainage so the bin never sits in standing water.
Pro tip: Place your outdoor bin on bare soil to allow beneficial microbes and soil organisms to migrate into your compost, which increases the biodiversity of your finished castings.
Essential Bedding and Expansion
As you increase your bin size, you must scale up your carbon-rich bedding. Start by filling the new bin with a 6-inch base layer of shredded cardboard, brown leaves, or coco coir. Once the new home is prepped, follow these steps to migrate your existing colony:
- Move the old bin next to the new one.
- Gently scoop the top few inches of your established bin, including the worms, into the new system.
- Bury fresh food scraps into the new bedding to entice the remaining worms to move over naturally.
- Wait two weeks before harvesting the remaining compost from your old bin.
Managing Seasonal Challenges
Outdoor systems are more susceptible to temperature spikes and heavy rainfall. Always keep a thick layer of dampened newspaper or a breathable canvas tarp over the bedding to regulate moisture levels. During extreme heat, mist the bin with non-chlorinated water to keep the environment cool. In late autumn, add extra layers of dried leaves to insulate the colony as temperatures drop toward 40°F.
By carefully managing the temperature and moisture, your outdoor colony will become a self-sustaining engine for your garden's health.