
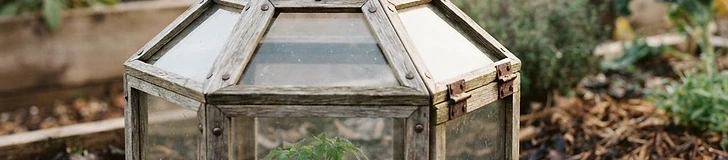
If you live in USDA zones 3 through 7, the unpredictable spring frost can kill young transplants overnight. A DIY cloche acts as a miniature greenhouse, trapping heat and shielding tender seedlings from harsh winds and late-season freezes. By using common household items, you can create a protective microclimate for mere pennies.
Gather Your Supplies To build your protective cloche, you only need a few basic items from around your home:
- Clean, clear one-gallon plastic milk or water jugs.
- A sharp utility knife or heavy-duty scissors.
- A permanent marker for ventilation holes.
- Garden stakes or wire pins to secure the base.
Prepare the Jug Start by removing the cap from the jug, as this allows heat to escape and prevents the seedling from cooking on a sunny afternoon. Carefully cut the bottom inch off the jug using your utility knife. If your soil is heavy or compacted, you can keep the handle intact to easily lift the cloche when you need to water or inspect your plants.
Ventilation Is Key When the ambient temperature climbs above 55°F, your plants need airflow to prevent mold and heat stress. Use your marker to create small air vents near the top of the jug. If you notice heavy condensation forming, simply remove the cloche during the heat of the day and replace it in the evening.
Always push your cloche at least two inches into the soil; this creates a secure seal that prevents strong winds from blowing your miniature greenhouse away during spring storms.