
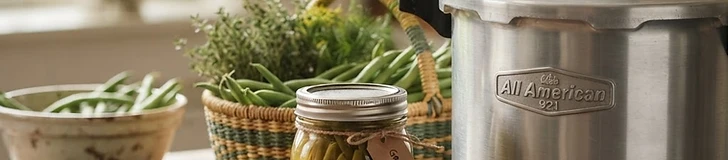
Preserving low-acid vegetables requires a specialized approach to ensure your pantry staples are safe to consume. Unlike high-acid foods, vegetables like green beans, carrots, and corn must reach 240°F to neutralize the risk of botulism, a temperature only achievable through pressure canning.
Understanding Low-Acid Safety
Most garden vegetables have a pH level above 4.6, classifying them as low-acid. While water-bath canning works for pickles or tomatoes, it cannot reach the temperatures required to destroy heat-resistant bacteria in these crops. Using a pressure canner is the only USDA-approved method for shelf-stable, low-acid home preservation.
Essential Equipment Check
Before you begin, inspect your pressure canner for any blockages. Ensure your vent pipe is clear and the rubber gasket creates a tight seal. You will need:
- Pressure canner with a weighted gauge or dial gauge.
- Mason jars specifically designed for canning (free of chips or cracks).
- New, two-piece metal canning lids.
- A jar lifter and a bubble remover tool.
Preparing the Produce
For the best results, start with fresh, crisp vegetables harvested at their peak. Wash produce thoroughly to remove soil, as dirt can contain bacteria that are notoriously difficult to kill. Always follow a tested recipe for specific processing times based on your altitude; even a small change in elevation significantly impacts internal jar temperatures.
Always check your dial gauge for accuracy at your local cooperative extension office once per season to ensure your equipment is hitting the necessary pressure targets.
The Processing Steps
- Prepare your jars by washing them in hot, soapy water and keeping them warm.
- Pack vegetables into jars and add boiling water or brine, leaving the headspace specified in your recipe—usually 1 inch for most vegetables.
- Remove trapped air bubbles using a plastic tool and wipe the jar rims clean.
- Apply lids and rings, tightening only until 'fingertip tight.'
- Process at the required pressure (usually 11 PSI for dial gauges at low altitudes) and allow the canner to depressurize naturally before removing the lid.
Once jars have cooled completely, check that the lids have sealed by pressing the center; a proper seal will not flex. Label your jars with the contents and the date to ensure you enjoy your garden harvest at its peak quality within one year.