
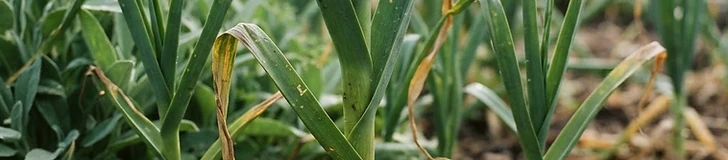
Despite its name and appearance, Allium ampeloprasum—better known as elephant garlic—is more closely related to leeks than true garlic. In this guide, you will learn how to cultivate these massive, mild-flavored bulbs that can grow up to a pound each in the right conditions.
Understanding Elephant Garlic
Unlike traditional garlic, elephant garlic produces very large, mild cloves. It is a hardy perennial, typically grown as an annual in USDA zones 3 through 9. Because it requires a cold period to initiate bulb division, it is almost exclusively planted in the fall, about four to six weeks before your first hard frost.
Preparing the Bed
Success starts with well-draining soil enriched with organic matter. Alliums hate "wet feet," so avoid spots in the garden that pool water after a rainstorm.
- Clear the area of weeds.
- Work in 2 inches of compost.
- Ensure the pH is between 6.0 and 7.0 for optimal nutrient uptake.
Planting for Size
When planting your cloves, size truly matters. Larger cloves will produce larger, more uniform heads come harvest time.
- Separate the head into individual cloves, keeping the papery skin intact.
- Plant the cloves 4 to 6 inches deep, with the pointed end facing upward.
- Space cloves 8 to 10 inches apart to allow the massive bulbs room to expand.
Pro-tip: If you live in an area with harsh winters (USDA zone 5 or colder), apply a 3-inch layer of straw or leaf mulch over your planting bed to insulate the soil and prevent frost-heaving.
Care and Feeding
Elephant garlic requires consistent moisture, especially during the spring growing season when the leaves are developing rapidly. If the weather is dry, provide about 1 inch of water per week. Side-dress with a balanced, organic fertilizer once in early spring as the green shoots emerge, but avoid adding nitrogen-heavy fertilizer in late spring, as this encourages leaf growth at the expense of bulb formation.
Harvesting Your Giants
Monitor your plants in early summer. When the lower leaves begin to turn yellow and dry, it is usually time to harvest. Carefully lift the bulbs with a garden fork, brush off excess soil, and cure them in a shaded, well-ventilated area for three to four weeks before storage.
With a little patience and the right spacing, your first harvest of elephant garlic will surely impress your neighbors and fill your pantry with premium flavor.