
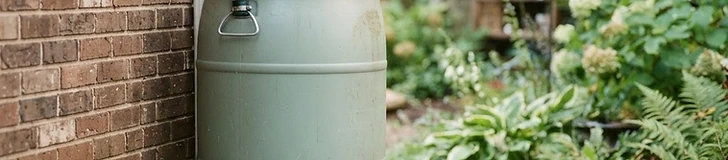
Installing a rain barrel is one of the most effective ways to lower your water bill while providing your garden with chlorine-free water. By capturing roof runoff, you can keep your vegetable beds hydrated even during strict municipal watering bans.
Choosing Your Reservoir
Start by sourcing a 50-to-60 gallon food-grade barrel. It is critical that the drum previously held food products, as industrial barrels may contain toxic residues. Clean the container thoroughly with a mild vinegar solution before beginning your build.
Preparing the Hardware
To get the water into your barrel, you will need a downspout diverter kit. These kits allow water to flow into your barrel when full, but redirect excess water back into your existing downspout to prevent foundation flooding. You will need:
- A drill with a hole saw bit (usually 1.5 to 2 inches).
- A spigot with a rubber gasket for a leak-proof seal.
- A level, stable surface like concrete blocks or a sturdy wooden platform.
Installation Steps
- Elevate your barrel on blocks at least 12 inches off the ground to ensure gravity provides enough pressure for your garden hose.
- Use the hole saw to cut an opening near the bottom for the spigot and a top entry point for the diverter hose.
- Install the spigot using the rubber gaskets provided with your kit, ensuring the seal is tight against the plastic.
- Cut your downspout at the height required by your diverter manufacturer and secure the unit with the provided screws.
Pro tip: Always place a fine mesh screen over your barrel's top intake to prevent mosquitoes from breeding in the standing water.
Maintenance for Longevity
If you live in a region where temperatures consistently drop below 32°F, such as USDA Zones 6 and lower, you must winterize your system. Drain the barrel completely in late autumn and remove the diverter to prevent the plastic from cracking during a hard freeze. If you keep the barrel in a shed or garage, it will last for many years of garden service.
Start small with one barrel, and you will quickly see how much water you can save during the rainy season.