
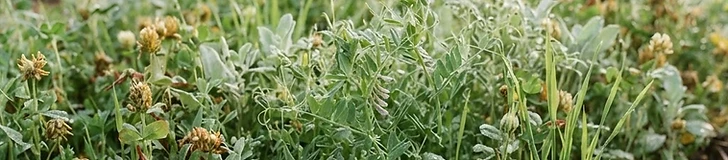
Cover cropping is the secret to thriving gardens. By planting specific crops during your off-season, you can protect your topsoil from erosion, suppress weeds, and boost organic matter without ever reaching for a shovel or rototiller. This guide focuses on the no-till approach, which preserves delicate fungal networks vital for healthy plant roots.
Why No-Till Matters
When you till, you disrupt the soil biology and bring dormant weed seeds to the surface. No-till cover cropping leaves the soil structure intact, allowing beneficial microbes to flourish. By choosing cover crops that winter-kill or are easily crimped, you can create a protective mulch layer that keeps soil temperatures moderate, even when air temperatures drop below 32°F.
Selecting Your Crop
Choose species based on your USDA hardiness zone and the specific goal for your beds:
- For nitrogen fixation: Use Trifolium incarnatum (Crimson Clover) or Vicia villosa (Hairy Vetch).
- For soil aeration: Use Raphanus sativus (Tillage Radish), which drills deep into compacted earth.
- For biomass: Use Secale cereale (Winter Rye), which grows vigorously and provides excellent weed suppression.
Tip: To terminate your cover crop without tilling, simply cut the plants down at the soil line with loppers or a sharp hoe once they begin to flower; leave the residue on the surface as a natural, weed-blocking mulch.
Timing for Success
Timing is crucial for a successful transition. For winter cover crops, sow seeds 4 to 6 weeks before your first expected frost date. If you live in a colder region (Zones 3–6), focus on crops that winter-kill, like oats or tillage radishes, so they decompose naturally during the freeze-thaw cycles. In warmer climates (Zones 7–10), choose hardy varieties that you can terminate manually in early spring, at least 2 to 3 weeks before you plan to transplant your seedlings.
Planting and Termination
- Clear the bed of old crop debris but leave the roots behind.
- Broadcast your seeds evenly across the soil surface.
- Rake them lightly into the top 0.5 to 1 inch of soil.
- Water consistently until the seeds germinate and the cover crop establishes.
By layering these techniques each season, you will transform your patch into a resilient, self-nourishing ecosystem.