
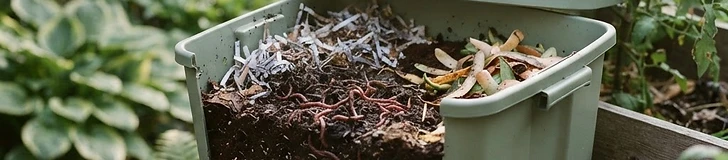
Vermicomposting is an efficient way to turn food waste into potent fertilizer, and a flow-through bin design makes harvesting the finished castings effortless. By allowing material to move downward through the bin, you can harvest from the bottom while the worms continue to work at the top.
Gather Your Supplies
To build your bin, you will need:
- One 18-gallon opaque plastic tote with a lid
- A drill with a 1/8-inch bit for aeration
- Window screening or landscape fabric
- Shredded cardboard or newspaper for bedding
- A pound of Eisenia fetida (Red Wigglers)
Prepare the Tote
Drill holes every 2 to 3 inches around the top rim of your tote to allow for oxygen exchange. For the flow-through functionality, drill a grid of 1/2-inch holes in the bottom of the container. If you have trouble with castings falling out too quickly, place a piece of plastic mesh over the holes. This allows the worms to move down as they finish the material while keeping the castings contained until you are ready to harvest.
Setting Up the Bedding
Fill your bin about 4 inches deep with moistened, shredded cardboard. It should have the consistency of a wrung-out sponge. Add your worms and a handful of finished compost or garden soil to introduce beneficial microbes.
Keep your worm bin in a location where temperatures stay between 55°F and 80°F, such as a garage or laundry room, as extreme cold or heat will harm your worm population.
Managing Your System
Start by feeding your worms small amounts of fruit and vegetable scraps—about one cup per week. Bury the scraps under the bedding to prevent attracting fruit flies. As the worms process the food, add more bedding and scraps to the surface. After 3 to 4 months, you will see finished, dark castings collecting at the bottom level. Simply scoop these out from the base whenever you need rich fertilizer for your houseplants or USDA Zone-specific outdoor vegetable beds.
Once established, your worm bin will provide a constant supply of organic soil amendment with very little maintenance required throughout the year.